Wednesday, July 28, 2010

Drunken French Toast Clouds

On a whim, my brother bought some challah bread while we were at the store and foolishly said aloud, "maybe I'll make french toast." Friday night I asked about the french toast. Saturday morning I asked about the french toast. Sunday morning I offered to make eggs and bacon- if he made french toast.

Monday night, I find half a loaf of challah bread in my house. It was not in the form of french toast. He had dropped it off because there was no way he could consume an entire loaf on his own. My mom said she would make me french toast-- if I went into work late to come get it. Thanks mom.

I took it upon myself to do something with the challah bread. Smitten had this super easy recipe that fit the bill perfectly- it could be prepped in 10 minutes, sit over night, and cook in the morning. After dance practice, I don't want to think. I just want to shower and get to bed. Anything this yummy and easy is a God send. Roll out of bed, shove it in the oven while I get ready for work.

This is not your typical french toast. It has a consistency like bread pudding. When it's done baking, you cut it into squares- they don't flip off the griddle. Make sure you pack your layers nice and cozy. The baileys adds a little gentle, 'good morning sunshine!' Plus, the challah is so cute! It looks like clouds. I didn't have a ton of bread to work with so I cut it back to 2 eggs and 2 cups of milk. It's pretty flexible!

Alternative: so you're determined to make traditional french toast, huh? Cut back to one cup of milk. Keep everything else the same. Whisk together the milk, eggs, baileys, sugar, and salt. Pour mixture into a pan and set aside. Preheat oven to 375 degrees. Dip bread into mixture, allow to soak for 30 seconds on each side, and then remove to a cooling rack and allow to sit for minute or two. Over medium-low heat, melt 1 tablespoon of butter in a nonstick flat pan. Cook the bread until golden brown, about 2 to 3 minutes per side. Remove from pan and place on rack in oven for 5 minutes.

1 loaf Challah bread in 1-inch slices (preferably a day old stale- it absorbs better)
3 cups milk (whole milk, skim, half and half- whatever)
3 eggs
3 tablespoons sugar
1/2 teaspoon salt
Flavorings-- one tablespoon per cup of milk (so I used 2 tablespoons Bailey’s since I used 2 cups of milk; plus a teaspoon of almond extract). You can use complimentary booze or extract, even a little citrus zest or chopped nuts!

Generously grease a 9×13-inch baking dish with butter. It doesn't have to be 9x13, just make sure your two layers fit.

Arrange bread in two tightly-packed layers in the pan. Cut one slice into smaller pieces to fill in gaps, especially when using braided Challah.

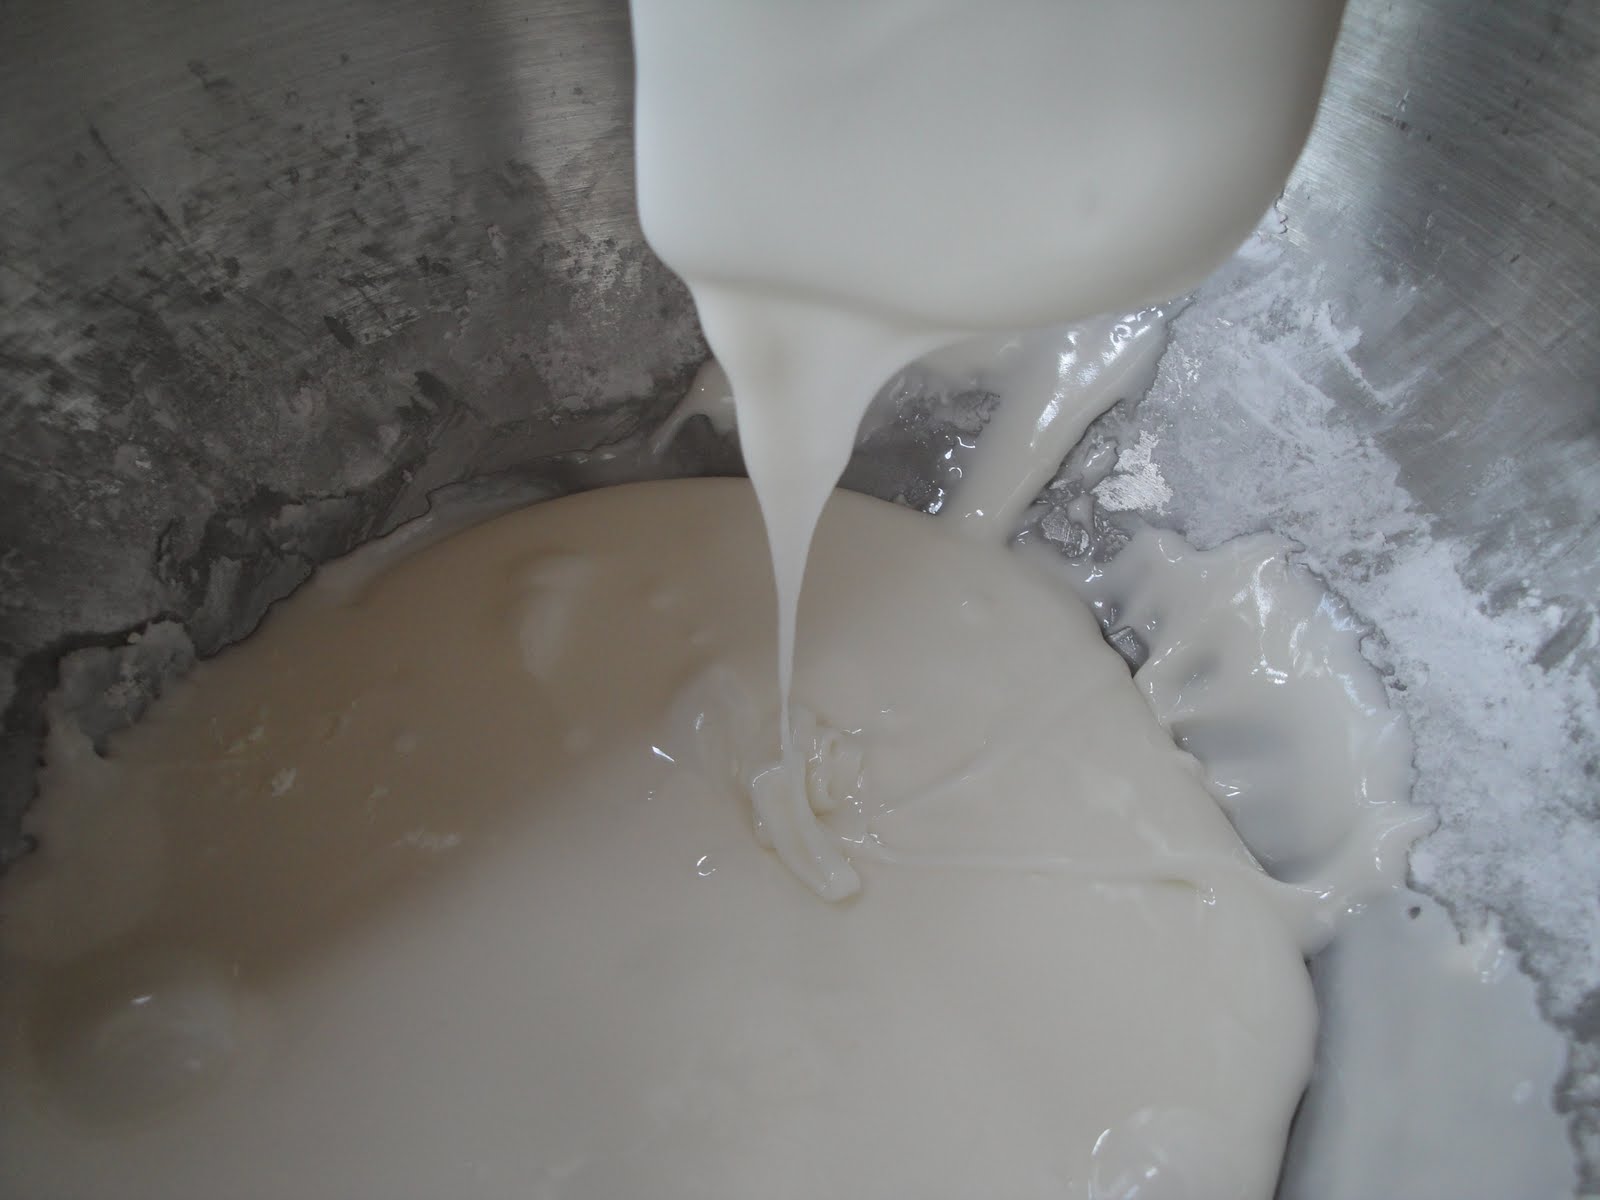
Whisk milk, eggs, sugar, salt and booze or flavorings and pour over the bread.

Sprinkle with cinnamon and sugar.

Wrap tightly with plastic wrap and refrigerate overnight. The bread will absorb the milk custard. It there is too much custard left in the morning, drain a little.

Bake at 425 for 30 minutes, or until puffed and golden. Cover with aluminium foil to avoid burn. If you find it's still too spongy for your taste, a quick flip on the griddle can calm your nerves.

Cut into generous squares and serve.

Monday, July 26, 2010

Orange-Vanilla Bean Cupcakes

Martha Stewart lured me in. I saw her cupcake book at the grocery store and was compelled to purchase it. She's not one of my go-to people for food ideas but hey, worth a shot. I selected this recipe for its summer-feel. I was skeptical by oranges + vanilla but vanilla goes with everything.

The actual cupcake is simple and tasty. It's moist but not super fluffy. You could taste the orange and vanilla perfectly. It's a yummy marriage of flavor! I encourage using this cake. If orange is not your thing, I think you could substitute it with another fruit. I have visions of pomegranate dancing in my head already.

Be careful with the meringue frosting. If you let the heat rise too much, you're looking at cooked eggs in the double boiler. I have yet to perfect a meringue recipe in my kitchen. Until I do, I cannot really comment. For some reason it never looks 100%.

As for the candied oranges... They're optional. I was not feeling a whole slice of orange on top of the cupcake. I think I'd like it better cut into pieces or buy some candy to garnish. Sure, it looks cute. But is it practical? You cannot chomp into the cupcake as easily. You can pick it off and eat it separately but I want a union of flavor. Plus- you need to keep on eye on the water level when they're cooking. If it gets too low- you'll have caramelized oranges. No good.

Note: Making candied oranges this way... time consuming. Pick your battles.

Cake

4 ounces (1 stick) unsalted butter, softened
1 cup sugar
2 vanilla beans, split and scraped, pods reserved for another use
1 tablespoon finely grated orange zest
2 large eggs
3/4 cup heavy cream
1/4 cup fresh orange juice
1 tablespoon pure vanilla extract
2 cups all-purpose flour
1/4 teaspoon baking soda
1/4 teaspoon baking powder
1/4 teaspoon salt

Swiss Meringue Buttercream

1 cup plus 2 tablespoons sugar
5 large egg whites, room temperature
Pinch of salt
1 pound (4 sticks) unsalted butter, softened, cut into pieces
1 1/2 teaspoons pure vanilla extract

Topping

2 Naval Oranges
1 cup sugar
1 cup water

Preheat oven to 350 degrees. Makes 12 to 14 cupcakes. Line standard muffin tins with paper liners.

Cream butter, sugar, vanilla seeds, and orange zest until pale and fluffy. With mixer running, add eggs, 1 at a time, beating well after each addition and scraping down sides of bowl.

Combine cream, orange juice, and vanilla extract in a small bowl. Sift together flour, baking soda, baking powder, and salt. With mixer on low speed, add flour mixture to butter mixture in 3 batches, alternating with cream mixture, ending with flour; beat until just combined.

Divide batter among muffin cups, filling each 3/4 full. Bake, rotating tins halfway through, until testers inserted in the centers come out clean, about 25 minutes. Let cool in tins on wire racks. Undecorated cupcakes will keep, covered, for up to 1 day (or frozen for up to 2 months).

For the frosting...Place sugar, whites, and salt in a heatproof mixer bowl set over a pot of simmering water (double boiler style). Whisk until sugar dissolves and mixture registers 160 degrees on a candy thermometer.... which I don't have.

Attach bowl to mixer. Whisk on medium speed for 5 minutes. Increase speed to medium-high, and whisk until stiff, glossy peaks form, about 6 minutes. Reduce speed to medium, and add butter, 1 piece at a time, whisking well after each addition.Whisk in vanilla. Use immediately, or cover, and refrigerate for up to 3 days. (Bring to room temperature, and beat on low speed until smooth before using.)

For the candied oranges.... Clean 2 naval oranges and slice thinly (about 12 slices total). In a wide/shallow pan, dissolve the sugar in boiling water. Add some orange slices- enough to cover the surface comfortably. Lower the heat a little. Flip the oranges every now and then so they coat evenly. This takes about 20-40 minutes. Once the slice is almost transparent but still has that orange color to it, remove and let cool on a wire rack.

Put it all together! Using a serrated knife, trim tops of each cupcake to make level. Frost tops of each cupcake with some frosting. Place a candied citrus slice on each cupcake. Fit a pastry bag with a small plain tip, and fill with remaining buttercream. Pipe dots around edges of orange slices. Cupcakes will keep, covered and refrigerated, for up to 1 day. Bring to room temperature before serving.

Thursday, July 22, 2010

Sugar Cookies with Royal Icing

What do you get when you mix Cambodian with Caucasian? Ridiculous cuteness. Tristan is my bf's nephew and he melts my heart. It's not just the big brown eyes and diabolical smile. He's a mama's boy that loves to cuddle. He out eats his older brother and then runs laps around the living room, giggling all the way. Oh, and his facial expressions are killer. When you tell him to look mean- he looks like the baby at the end of Zoolander doing the model expression. TOO CUTE!

His birthday party was a few weeks back. I had envisioned these perfectly frosted cookies with the duck from Wonder Pets. I used Royal Icing, something new to me. I forgot color the outline frosting to match the inside. A ghetto mistake on my end. Lesson learned. So remember- the outline has to match the filling!

Royal Icing is cool because you make an outline, add a little water to the mix, and then flood it. It makes things smooth and even. When doing Royal Icing- keep your drawing as simple as possible. Oh, and can't find meringue powder? Me neither- I used dried egg white powder I found in the baking aisle. Came out perfect. Brown Eyed Baker has a great break down for flooding with royal icing.

The sugar cookies were on point- I was very impressed with the recipe from Dorie Greespan. This it my new go-to recipe for sugar cookies! The Royal Frosting was great- I just need to do it right the next time.

Note: I would make the cookie dough the night before. They have to chill. Then you have to wait another 2-3 hours for the frosting to set.

Cookies:

3/4 cup margarine
1 cup granulated sugar
1 teaspoon real vanilla extract
2 eggs
2 1/2 cups all-purpose flour
1 teaspoon salt
1 teaspoon baking powder

Frosting:

4 cups powdered sugar
2 tablespoons meringue powder
6 tablespoons water

Cream margarine and sugar. Add vanilla and eggs; combine well.

In separate bowl, sift the baking powder, salt and flour. Add to wet ingredients slowly until thoroughly combined. Cookie dough must be chilled until firm.

Remove dough from fridge and roll out to a 1/4-inch thickness. Preheat oven to 400 degrees.

With cookie cutters or rim of drinking glass, cut out cookies. Place cookies on an ungreased cookie sheet and bake in preheated oven for 8-10 minutes. Keep on eye on them! There's no point if these cookies are burnt, so start circling the oven at the 7 minute mark.

Cool on baking rack. When they are completely cooled, frost away.

To make the icing... Mix the powdered sugar, meringue, and water on low speed for 7-10 minutes or until the icing loses its shine. Add more water by the teaspoon if it appears too stiff.

Divide into separate bowls, depending on how many colors you want to use. Proceed to color the icing and then cover each container with a damp paper towel. Do NOT let royal icing dry out, that means it's setting.

Outline the cookies with whatever color you will be using to fill them in with. Place some of the icing into a pastry bag fitted with a #3 tip and outline the outside of the cookie. It makes you feel more at ease, draw what you want a couple times in the outline of a cookie. Get a feel for it.

Take whatever color you are using to fill in the cookies and slowly start adding a few drops of water at a time, until the icing reaches an almost liquid consistency. The test here is to pick some icing up with a spoon and let it drizzle back into the bowl – the drizzle should disappear into the bowl within 10 seconds.

Either fill a squeeze bottle with the thinned icing or transfer it to a Ziploc bag with a ¼-inch hole cut off the end. Squeeze in the icing to almost completely fill the inside the cookie. Take a toothpick and gently use it to distribute the icing to any empty spots.

Give it at least 2-3 hours to set.

Friday, July 16, 2010

Free Cupcakes July 21st - Occasionally Cake (Alexandria, VA)

Occasionally Cake celebrates their 1 Year Anniversary with free cupcakes! Come through Wednesday, July 21st, to celebrate and get your free cupcake! Portion of Proceeds to benefit the National Center for Missing & Exploited Children.

The popular Alexandria cake shop has had a successful first year thanks to the hard work of owners Sabrina Campbell and Marcia Crandall. Check out my interview with them here! Both cake designers have poured their hearts into the boutique cakery which concentrates on creating custom cakes in addition to satisfying every sweet tooth in town with cupcakes sold daily over the counter.

The bakery will serve up six of the over 100 flavors on Wednesday 10 AM - 7 PM including: Red Velvet, Pink Champagne, Yin & Yang, Grasshopper, Lemon Drop and Chocolate Razzleberry.


Sabrina and Marcia will use their first anniversary as a chance to give back to the community and thank their loyal patrons for a great year. Not only will each visitor enjoy a free cupcake, but they will also have the chance to donate to the National Center for Missing & Exploited Children. The non-profit organization works to prevent child abduction and sexual exploitation; help find missing children; and assist victims of child abduction and sexual exploitation, their families, and the professionals who serve them.

“We couldn’t be more thrilled to team up with the National Center for Missing & Exploited Children,” says owner Sabrina. “For us, there is no more valuable way to celebrate the cakery’s success than to bring attention to such an important cause and show our support for this worthy organization based right here in our hometown.”

Contact: Sabrina Campbell
Occasionally Cake
703.780.2253
Sabrina@OccasionallyCake.com

Thursday, July 15, 2010

Apricot, Pistachio, and Lemon Shortbread Tart

When I saw these photos on Cannelle et Vanille, my heart stopped. This is a common reaction when I look at her site. The photography is poetry and her recipes entirely out of my league. I don't know anything about tapioca starch or brown rice flour. Heck, I'm proud that I know the difference between all-purpose and bread flour. Sad, no?

I had to make this- if not to eat, just to stare at and know it had been in my kitchen. The crust is phenomenal. Love it. The pistachio's are the perfect touch. There's only one small catch that I forgot... I don't like apricots. The after taste bothers me. When I make this again, I will use a different fruit. Maybe peaches paired with macadamia nuts. Don't let my dislike for apricots deter you though. If you like apricots, carpe diem.

The comment my brother gave- who happens to like apricots- is there's no filling/custard. When he thinks of a tart, he imagines the standard lemon filling with fruits on top. I actually enjoy the lack of custard. It's summery, fresh, and light! You really get to enjoy the fruit.

Makes a 10" tart or 8 individual tarts. I don't have 8 little tart tins so I made one individual tiny tart and then a big 8" large tart.

1 cup unsalted butter or non-hydrogenated shortening
1 cup plus 2 tablespoons powdered sugar
Zest of 1 lemon
1/2 tsp vanilla
1 1/2 cups superfine brown rice flour
3/4 cups plus 2 tablespoons cornstarch
1/4 cup tapioca starch
pinch of salt
chopped pistachios
sugar for topping
10-12 apricots
lemon thyme leaves, optional
honey, optional

Cream the butter and powdered sugar together. Add the zest and vanilla extract. Add the dry ingredients and mix until combined. Note how Bob's Red Mill was kind enough to write "also known as Tapioca Starch" for peons like myself- phew!

Press the dough into tart molds. Use the back of a knife or spoon to help smooth it out if you need to. Refrigerate the dough for about 30 minutes.

Peel and cut the apricots into thin wedges. Sprinkle the chopped pistachios on the bottom of the tarts. I used a food processor to make it easier. Arrange the apricot slices inside tightly packed as they will shrink in the oven. Sprinkle more pistachios on top and some sugar.

Bake at 375F for about 30 minutes until golden. Drizzle honey and add some lemon thyme leaves on top, if desired. Give it a few minutes to cool. You can eat this warm or cold.

Monday, July 12, 2010

Madeleines Hate Me

A couple weeks back, I learned that the boyfriend's mom loves Madeleines. She is super nice and kind of gave birth to the man I heart. Of course I had to take a shot at making them! Besides, they're just cute little French dipping cookies- right? No problem!

Yah right. Madeleines are punks. These little sponge cakes hate me. I have attempted to make them about four times now. Issues include: lumpy flour, unmixed butter, and air bubbles. I followed this recipe exactly from 101 Cookbooks but was not thrilled with the results. I cannot let it go if it comes out wrong- I have to know WHY.

So I sifted the flour and added it in gradually, folding along the way. Add the butter in a few table spoons at a time or it will sink to the bottom, dead-center in some weird pocket. To eliminate the air bubbles, I tapped the pan on the side of the counter a few times.

Note: for butter to cool back to room temperature- you need about an hour! So do that first thing or you'll find yourself begging the eggs to stay fluffy.

In my quest to understand the Madeleine, I came upon several different methods. The use of baking soda is controversial; mix the butter in while it's hot and let it sit for 2 hours; orange zest; almond flour; dipped in chocolate; glazed. Oh, and there's this whole thing about them baking with a hump in the back vs. not. There are just too many ideas floating around for such a simple cookie!!

This recipe turned out well... after much anguish and swearing. The next time I make Madeleines, I'm going to try this one from David Lebovitz to see if there's a difference by cooling the batter.

Best served immediately. They get harder in 2-3 days but can be treated like biscottis.

1 1/2 sticks unsalted butter (6 ounces)
2 tablespoons softened unsalted butter (for greasing pan)
4 large eggs
a pinch fine-grain sea salt
2/3 cups sugar
zest of one large lemon
1 teaspoon vanilla extract
3/4 cups unbleached all-purpose flour
powdered sugar

Preheat oven to 350 degrees. Makes 2 -3 dozen regular Madeleines.

Do ahead: melt the 1 1/2 sticks of butter in a small pot over medium heat until it's brown and gives off a deliciously nutty aroma, roughly 20 minutes. Strain (using a paper towel over a mesh strainer) - you want to leave the solids behind. Cool the butter to room temperature.

To grease the pan, use some non-stick spray with flour in it or the good ol butter/flour treatment. Get in those ridges! A cute cheat is to use the paper towel you used as a strainer because it's already soaked in butter.

Put the eggs with the salt in the bowl of an electric mixer with a whisk attachment. Whip on high speed until thick - you are looking for the eggs to roughly double or triple in volume - approximately 3 minutes. Continuing to mix on high speed, slowly add the sugar in a steady stream. Whip for 2 minutes or until mixture is thick and ribbony. Now with a spatula fold in the lemon zest and vanilla (just until mixed).

Sift the flour. Sprinkle the half of the flour on top of the egg batter, and gently fold in. Add the second half and repeat. Now fold in the butter mixture, a few tablespoons at a time. Only stir enough to bring everything together.

Spoon the batter into the molds, filling each mold 2/3 -3/4 full.

Bake the madeleines for 12 - 14 minutes (7-10 minutes for smaller cookies), or until the edges of the madeleines are golden brown. Remove from oven and unmold immediately. Cool on racks and dust with powdered sugar.

Thursday, July 8, 2010

Peach and Crème Fraîche Pie

Millions of peaches. Peaches for me. Millions of peaches. Peaches for free. Well not quite. My sister and I have different preferences when it comes to sweet things. I wanted to make something for her birthday that was different and peach tart got stuck in my head. I've never made a tart from scratch. They seem simple enough. In my quest to find a yummy peach tart, I found this from Smitten.

Peaches are good. Peaches in a pie? Even better! The crust was flaky and buttery. It really held together too! You could almost pick it up like a slice of pizza- almost. The sweetness of the fruit is not overpowering. It's a very mature pie.

The filling for this pie is ridiculously easy. Fast and basic. It's the crust you need watch out for. Oh it's easy- but time consuming. You can always go out and buy the crust, but it doesn't have the same love in it. I made the dough the night before so all I had to do the next day was let it thaw in the fridge a little, roll it out into the pan, freeze again, par-bake, and then bake. What is par-bake? It's a little pre-toast so that you don't get a soggy bottom from all the juices in the pie when it's baking.

The key to make the yummy, buttery crust- FREEZE EVERYTHING. I'm serious. Freeze your butter. Freeze the crust. Keep everything cold cold cold so it stays together. Visible butter means visible flakiness.

Note: what the hell is Crème Fraîche? It is a delicious, thinner form of sour cream first developed by the French. It has a slight hold and tangyness. You can make your own at home, there are a couple online recipes like this one. I bought mine at Whole Foods because Safeway didn't know what the heck I was talking about. Also... The quality of pie depends on the quality of the peach. They're in season from late June to September. You be the judge when you pick them out.

I made this in NJ in a foreign kitchen. Don't be jealous of my Dixie paper plates : )

Pie Crust

1 1/4 cups flour
1/2 tablespoon sugar
1/2 teaspoon salt
1 stick (1/2 cup) unsalted butter, very cold
9.5x10 inch pie plate (not deep dish)

Streusel

1/4 cup confectioners’ sugar
1/4 teaspoon baking powder
Pinch of salt
3 to 6 tablespoons all-purpose flour
1/4 cup cold (1/2 stick) unsalted butter, cut into pieces

Filling

1 1/2 pounds ripe (4 to 5 medium) yellow peaches, pitted and quartered
2 to 4 tablespoons granulated sugar
Pinch of salt
5 tablespoons crème fraîche

For the Pie Crust... fill a one cup liquid measuring cup with water, and drop in a few ice cubes; set it aside. In a large bowl, whisk together flour, sugar and salt. Dice very cold unsalted butter into 1/2-inch pieces. Get out your pastry blender. Don't have a pastry blender? Me neither. Take 2 knives and cut like a pair of huge scissors. It takes longer but hey, do what you gotta do.

Sprinkle the butter cubes over the flour and begin working them in with the pastry blender, using it to scoop and redistribute the mixture as needed so all parts are worked evenly. When all of the butter pieces are the size of tiny peas — this won’t take long — stop. You want those butter bits!

Start drizzling 1/4 cup of the ice-cold water over the butter and flour mixture. Using a rubber spatula, gather the dough together. You’ll probably need an additional 2 tablespoons cup of cold water to bring it together, but add it gradually. Once you’re pulling large clumps with the spatula, take it out and get your hands in there. Gather the disparate damp clumps together into one mound, kneading them gently together.

Place dough on a large piece of plastic wrap. Let the dough chill in the fridge for one hour, but preferably at least two, before rolling it out.

When you do roll it out, it should be 1/8 inch thick. Trim edge to 1/2 inch; fold under and crimp (with a fork) as desired. Pierce bottom of dough all over with a fork. Transfer to freezer for 30 minutes. Preheat oven to 400°F right before you take it out. While this is freezing, make the streusel and filling!

For the streusel ... Stir confectioners’ sugar, baking powder, salt and three tablespoons flour together in a small bowl. Add bits of cold butter, and either using a fork, pastry blender or your fingertips, work them into the flour mixture until it resembles coarse crumbs. Add additional flour as needed. Don't worry if it's more than the recipe states- just make sure it's crumbly!

Par-bake crust ... Tightly press a piece of aluminum foil against frozen pie crust. From here, fill the shell with pie weights or dried beans. Bake for 10 minutes, then carefully remove foil and any weights, press any bubbled-up spots in with the back of a spoon, and return the crust to the oven for another 5 to 8 minutes, or until it is lightly golden brown. Transfer to a wire rack to cool slightly. Reduce oven temperature to 375°F.

For the filling ... Sprinkle quartered peaches with sugar (2 more a touch of sweetness, 4 for sweet) and salt. (Easy way to quarter peaches- cut full circle vertically and then twist apart like a bottle cap.) Let sit for 10 minutes. Spread two tablespoons crème fraîche in bottom of par-baked pie shell, sprinkle with one-third of the streusel and fan the peach quarters decoratively on top. Dot the remaining three tablespoons of crème fraîche on the peaches and sprinkle with remaining streusel.

Bake the pie until the crème fraîche is bubble and the streusel is golden brown, about 50 minutes. Cover edge of crust with a strip of foil if it browns too quickly. Let cool on a wire rack at least 15 minutes before serving.

Store in the fridge due to the crème fraîche. Serve warm or cold. I served mine cold because we were out watching the fireworks. This gives the flavors more time to blend.

Wednesday, July 7, 2010

Fourth of July Weekend 2010

Happy Birthday Susana and Pops! Those fireworks were for you, just like every year! I spent the 4th of July weekend out in Wildwood, NJ. My brother-in-law is super awesome and landed us a free stay at his client's timeshare. I didn't know what to expect of the house but it turned out to be hella cute. It has two floors with 4 bedrooms. The decor was clean and cute, nothing over the top cliche. Not too small, not too big- just right for what we needed.

Highlights: fishing expeditions failed. We caught nothing and had a hard time finding a good spot. I rocked the mini put-put scene. Beach was hot as hell with refreshing frigid waters. The actual 4th of July festivities had some of the best fireworks displayed I've seen in person. There was not a lot of 'fist pumping' (some TV reference the Saim boys kept making) but there were plenty of Irish flags. Must be something about the community in that area. The board walk is always busy and there are a few decent spots to grab a bite.

As for food. Tonito brought a leitao (roast pig) served with delicious molho (black pepper, salt, fat). This is traditionally served with sliced oranges lightly dusted in sugar. I made some monkey bread for breakfast the next morning. Round 2 of dinner was ribs and tenderloin, served with rice and beans. Tons of garlic! Jalapenos here and there. Dessert was a yummy peach tart that I made just for Susana! I will post the recipe tomorrow.

The final breakfast was a team effort. I made the eggs, Susana made French toast, and Olga rocked the bacon. There was plenty of fresh fruit on the side. My kind of morning. We spent the entire day at the beach, relaxing, swimming, and reading.

Before we left for VA, we enjoyed dinner at this great restaurant called Dog Tooth. If you are ever in this area- you must go to this spot. The food was spectacular. There was spicy shrimp, macaroni-n-cheese with crab meat, mahi-mahi fish tacos, kobe burgers, and more. The mixed drinks were yummy. I highly recommend the pina calada mixed with strawberry. I'm getting hungry just thinking about it.

This was defintly a side of New Jersey I've never seen. I'm used to Newark for the bakeries and food shopping. It never made sense to be called 'the Garden State.' Driving through, there's a whole lot more country than I thought. Wildwood is nice spot to visit for it's bumpin boardwalk and clean beaches.

Thanks for a great weekend Zana!